contents
Blogs / TinyPilot Voyager 2a Review: KVM for consumers?
TinyPilot Voyager 2a Review: KVM for consumers?
October 15, 2023 • Matthew Duong • Self Hosting,Devops • 5 min read

Background
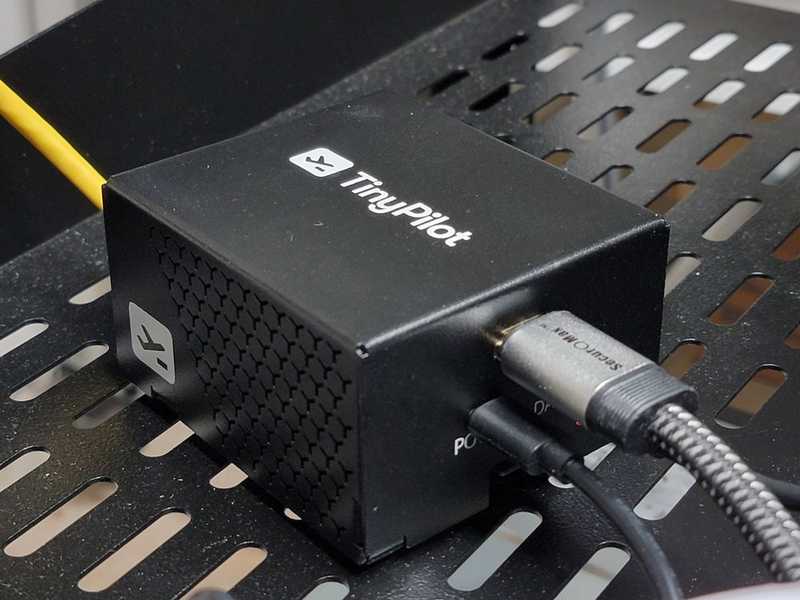
In a home server setup with multiple nodes, streamlined management is essential. Enterprise-grade solutions like iDRAC offer advanced remote management features, but these simply don't exist in consumer-grade servers. This absence made tasks like OS installations or BIOS troubleshooting cumbersome, requiring physical access to keyboards, mice, and monitors. To bring iDRAC-like capabilities to my consumer machines, I chose TinyPilot as a more efficient alternative.
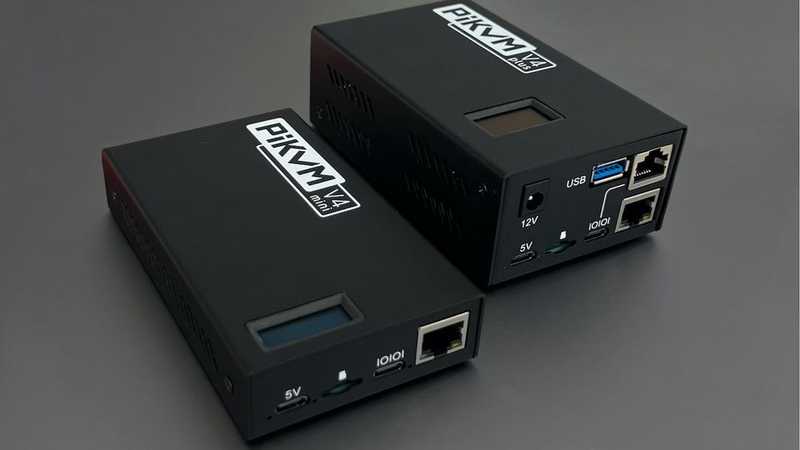
TinyPilot vs piKVM vs Enterprise KVM
Enterprise KVM solutions were quickly ruled out of my decision-making process due to their steep pricing, often exceeding $1000. That left me with two main contenders: TinyPilot and piKVM, both aimed at tech enthusiasts looking for a budget-friendly KVM solution. While both were roughly in the same price range, I ultimately went with TinyPilot. It offered a more plug-and-play experience, serving as an accessible entry point into the realm of KVM over IP without compromising on essential features.
Pricing and Add-On Options
When it comes to cost, TinyPilot is priced at $399 before tax. This puts it well below most enterprise KVM solutions, making it an affordable choice for individual users and small businesses alike.
The device comes with a default USB-C power option included in the price. However, if you're interested in more flexibility with powering your TinyPilot, there's an optional add-on for Power over Ethernet (PoE) available for an additional $99. This is particularly useful if you'd like to reduce cable clutter or require a more professional setup.
Additionally, TinyPilot offers an HDMI to VGA adapter for those who need to connect the device to VGA-only equipment. This add-on is priced at $14.99, offering another layer of compatibility for various setups.
Overall, the pricing and add-on options make TinyPilot an adaptable and budget-friendly solution for those looking to manage multiple nodes effectively.

Build Quality
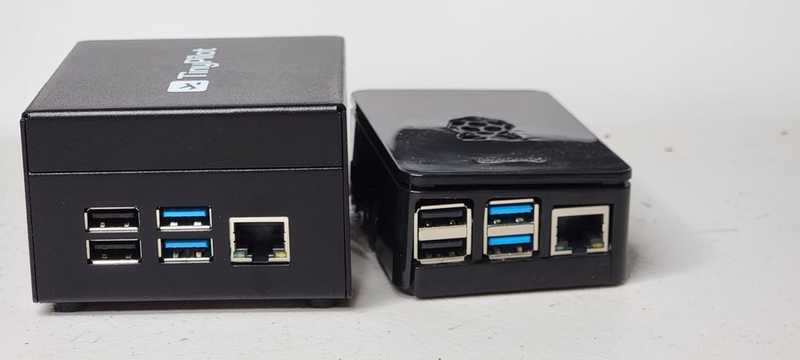
The TinyPilot exudes confidence in its build quality, encased in a thick sheet of steel that's designed not just for durability but also includes venting for exhaust fans. The steel casing makes it feel almost "bomb-proof," instilling a sense of reliability. In terms of size, it is only slightly larger than my CanaKit Raspberry Pi, but the added bulk seems to be put to good use, giving it a sturdier feel.
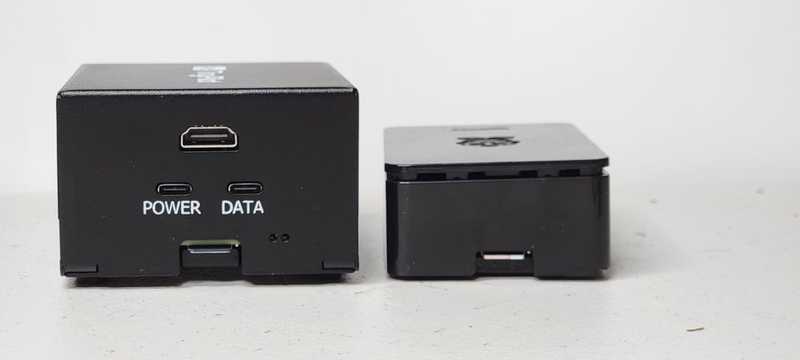
This robust build quality makes it something I can safely toss into my backpack when travelling, without any second thoughts. The same can't be said for my CanaKit Raspberry Pi, which always leaves me worried about potential damage during transit. Overall, TinyPilot feels like it is bomb proof.
Out-of-the-Box Experience
Setting up the TinyPilot was straightforward. It comes with a 32GB microSD card preloaded with the operating system. All it required was plugging in an HDMI cable for video, an Ethernet cable for network access, and a USB for simulating keyboard and mouse input. Within minutes, I was up and running.

Storage, Usability, and User Interface
TinyPilot comes with a 32GB microSD card pre-installed, providing ample storage space for multiple ISOs. This enables you to create a library of live USBs, which can be uploaded to the device remotely and then mounted as virtual media on your connected devices. This feature adds a layer of convenience and flexibility, making it easier to manage multiple devices or perform BIOS-level troubleshooting—all without needing to physically access each machine.
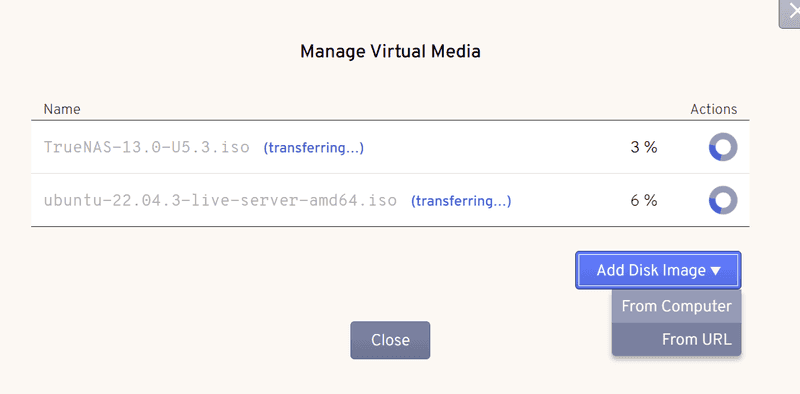
As for the user interface, it's browser-based and requires no additional software to be installed. Simply navigate to TinyPilot's hostname, and you're greeted with a clean, intuitive UI that offers a remote-desktop-like experience. Within a few minutes, I found myself comfortably navigating through the various features, taking full advantage of the device's capabilities. Overall, the combination of ample storage and an easy-to-use interface makes TinyPilot a practical and user-friendly solution.
Security
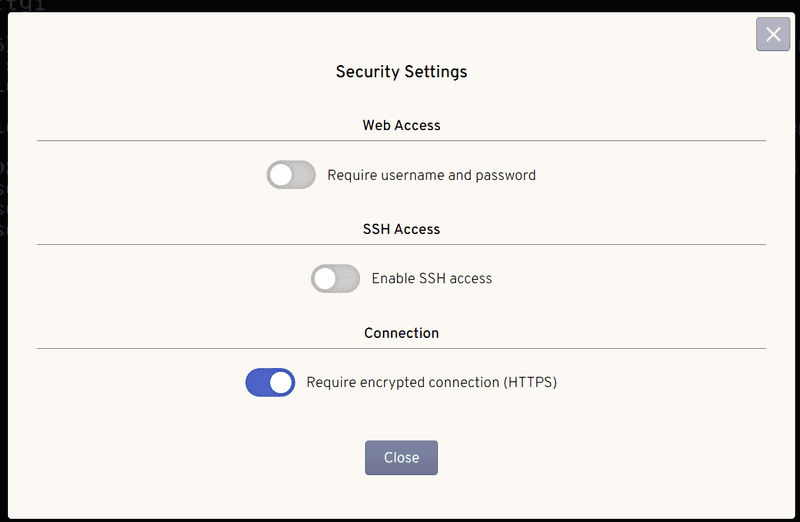
While TinyPilot offers an array of features, it falls short in the security department. Out-of-the-box, the device lacks any pre-configured authentication for its web interface. This could be a security risk, especially if your device is connected to a public or untrustworthy network. It's advisable to set up authentication as an immediate step after installation to mitigate potential vulnerabilities.
Installing Ubuntu using TinyPilot
Using TinyPilot to install Ubuntu on my GPU nodes was a breeze. I uploaded the Ubuntu ISO to the device, mounted it, and performed the installation without ever having to leave my desk. It saved me from the inconvenience of shuffling between different machines with a live USB.
Resetting the TinyPilot
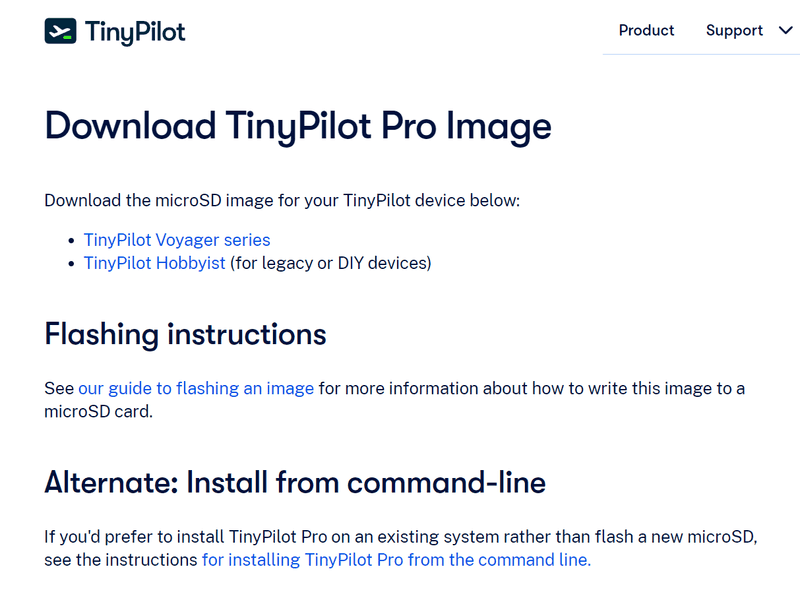
If you ever find yourself needing to reset your TinyPilot device, worry not—the process is incredibly straightforward. All you need to do is flash the microSD card with a fresh image of the TinyPilot operating system, available on their official website. Simply download the image and follow the easy-to-understand flashing instructions. This feature adds an extra layer of convenience and peace of mind, allowing you to return your TinyPilot to a pristine state without going through complicated procedures.
Power Efficiency
For those concerned about the impact on their electricity bill, especially in regions where electricity rates are high, TinyPilot offers a compelling advantage: its power draw is comparable to that of a Raspberry Pi. This means you get a robust, remote management solution without significantly affecting your energy consumption. For a device that may be running 24/7, this low power usage can result in tangible savings over time, making the TinyPilot not just a convenient but also an economically sensible choice.
However, it's worth noting that if you opt for the Power over Ethernet (PoE) add-on for an additional $99, you might see a slight increase in power consumption. This could be a point of consideration if your primary goal is to minimise your energy footprint. Overall, the TinyPilot offers a compromise between functionality and power efficiency, making it a viable option for those conscious of their energy bills.
Limitations
TinyPilot is feature-rich but not without its constraints. A significant limitation is the absence of power control options, a feature available in piKVM via ATX power control that requires physical connection to the motherboard's power pins. This shortfall became particularly evident when juxtaposing TinyPilot's capabilities against the more comprehensive feature set of iDRAC. While TinyPilot does allow for seamless switching between multiple devices, there are scenarios where this isn't enough and physical power access becomes a necessity.
Final Thoughts
TinyPilot has significantly streamlined my home server management tasks. Its robust build, ease of use, and affordability make it a strong contender for those looking to up their home server game. Although it can't fully replicate the iDRAC experience, it does cover most of the essentials at a fraction of the cost.
For anyone with more than two devices in their home lab, TinyPilot offers a convenient and space-efficient way to manage your setup. And while it has its limitations, the benefits far outweigh the drawbacks. Overall, TinyPilot serves as an efficient, cost-effective addition that has become an invaluable part of my home lab.
